
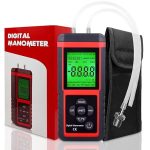


EHDIS Manometer, Professional Air Pressure Meter, Dual-Port HVAC Digital Gas Pressure Tester Differential Gauge
$39.99
Related Products
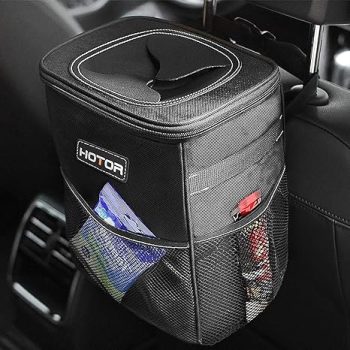
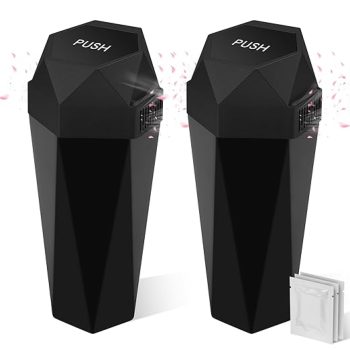
Waterproof Car Trash Can Bin Auto Car Accessories Organizer Garbage Dump For Trash Can Cars Storage Pockets Closeable Portable
Material: Oxford cloth Color:
Black Stretch size:
About 16.5cm x 15cm x 25cm
Weight: 325g
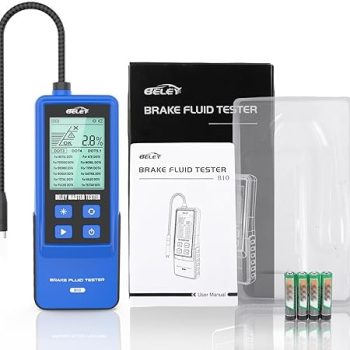
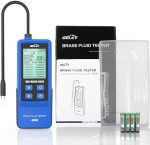
Product details:
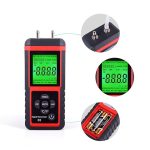
A: DisplayC: Press to test: Select brake fluid type: Battery CoverB: Press to turn off the backlight: Probe TipF: Long press to turn the tester on and off
Specifications:
Operating voltage: 6 V (4 x 1.5 V battery). Note: Batteries are not includedOperating temperature: -10℃-60℃
Packing list:
1 x English user manual, 1 x head unit

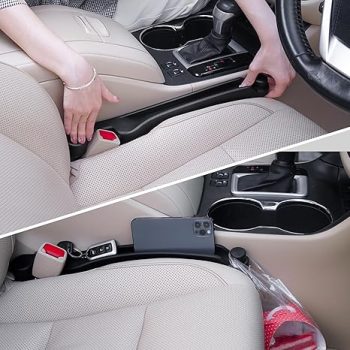
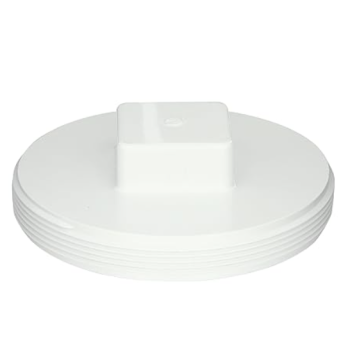
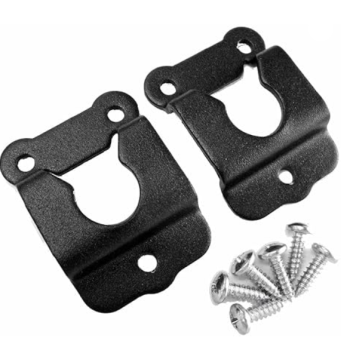
Givifive Multifunctional Car Seat Side Gap Filler 2 Pack (Black)—— A Great Car Seat Accessories You MUST HAVE!
3 in 1 for Car Seat Gap Filler, Auto Console Side Organizer and Hook Function for Drink
Car Seat Gap Filler Fill The Gap Between Seat and Console Stop Things from Dropping
Console Side Car Organizer for Storage Cellphone Wallet Keys Coins and more small things
Ring design on the end help hang drink, light items or keep shopping bags upright (to prevent items from falling apart)
Innovative Design, Significant Advantages
3-in-1 multifunctional design: One product meets your multiple needs
High quality soft foam material: High temperature resistance, washable, not easy to deform
100% Gap Coverage in front of, surrounding and behind seat belt catch
Easy to Install: These gap fillers are easy to install and do not interfere with your seatbelt, moves with the seat and no need to readjust or reinstall.
One size fits most vehicles, for most car trucks and SUVs
Package Includes:The package contains two car seat gap fillers to cover the driver and passenger seats.(Please confirm the correct installation direction before installation)
Reviews
There are no reviews yet.